
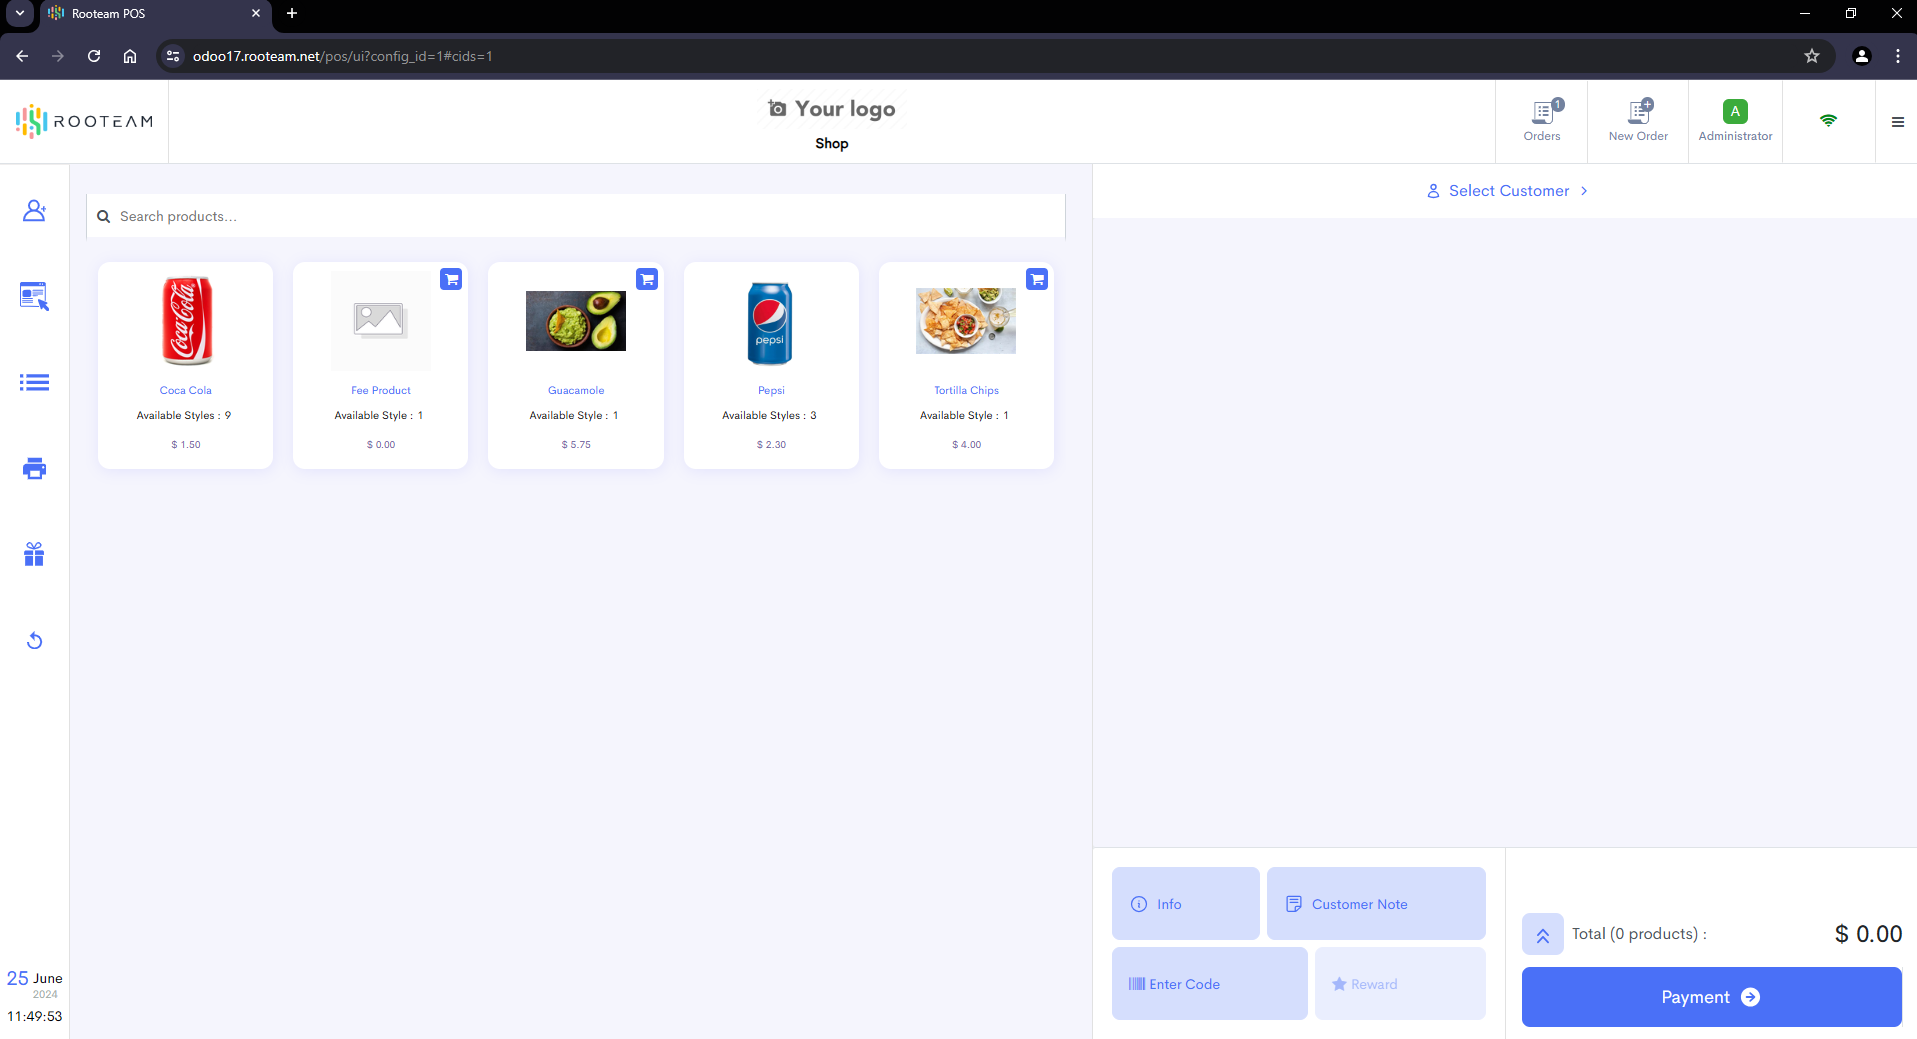
Configuring your POS system to Auto-Print Receipts
For ideal use of the point of sale, we recommend using Chrome in kiosk mode. This allows printing to occur without interaction, speeding up the checkout flow. A guide to set this up follows below.
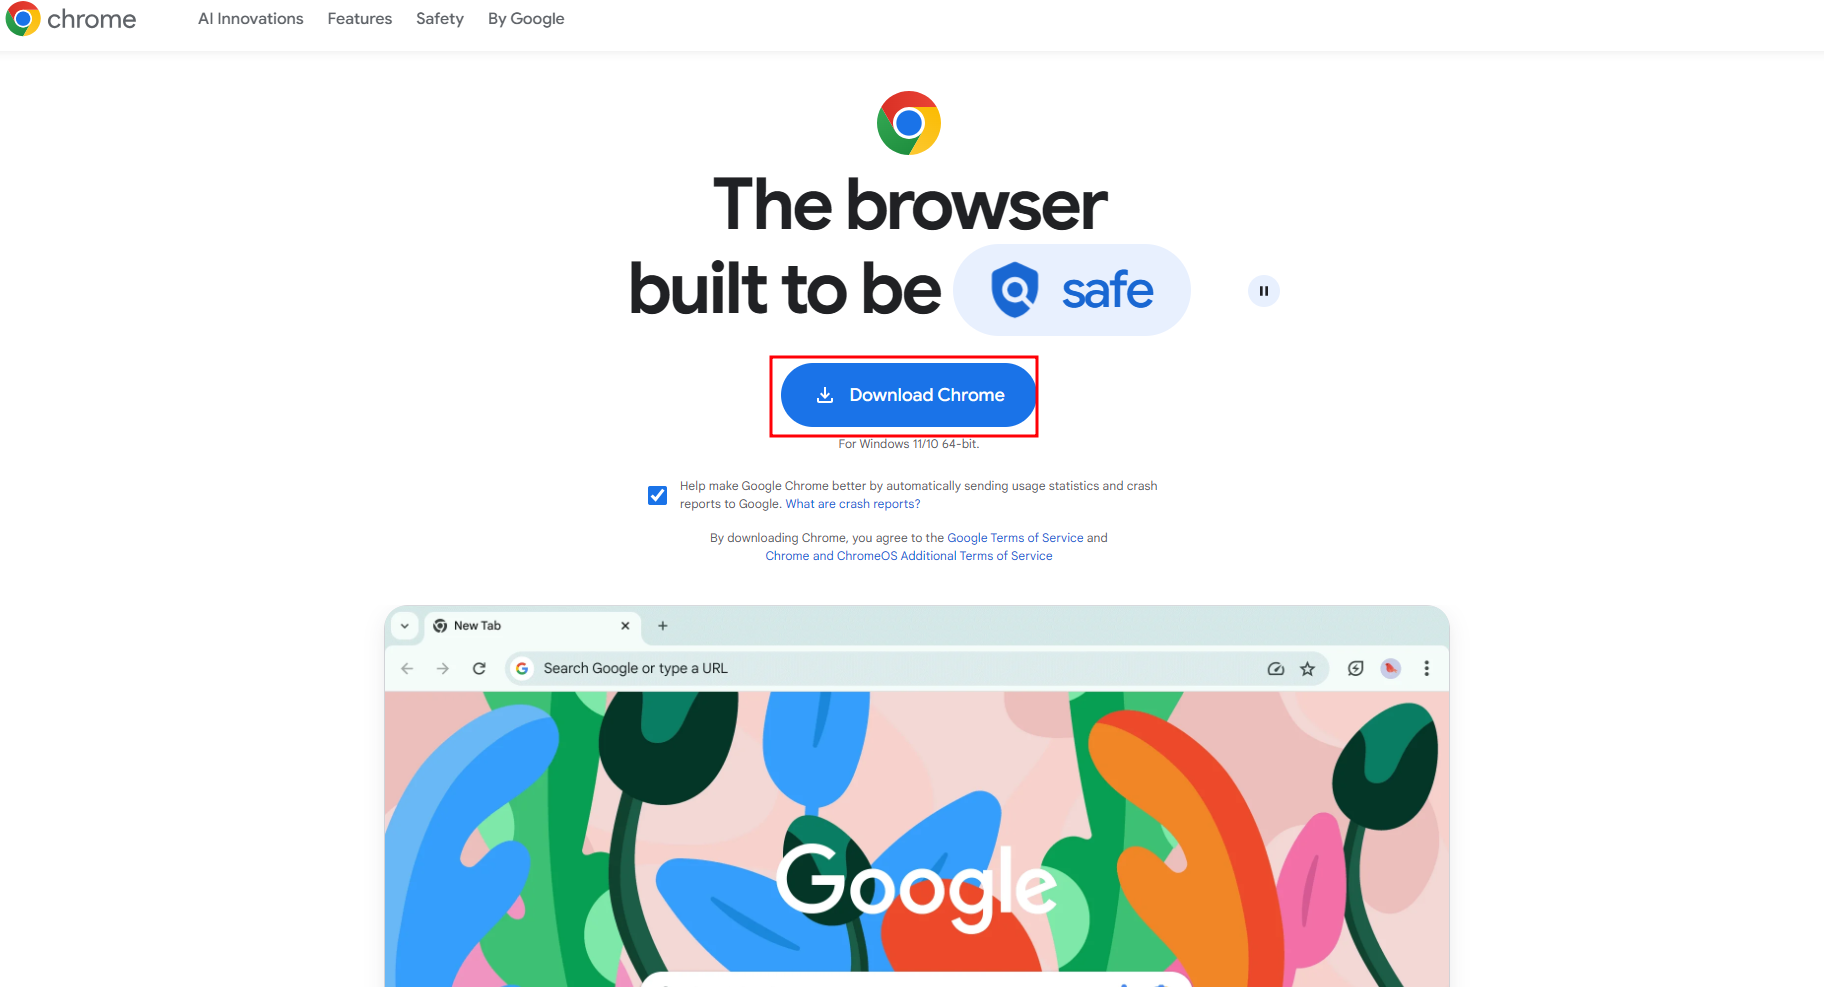
1. Install Google Chrome
Go to google.com/chrome and install Google Chrome by running the file.
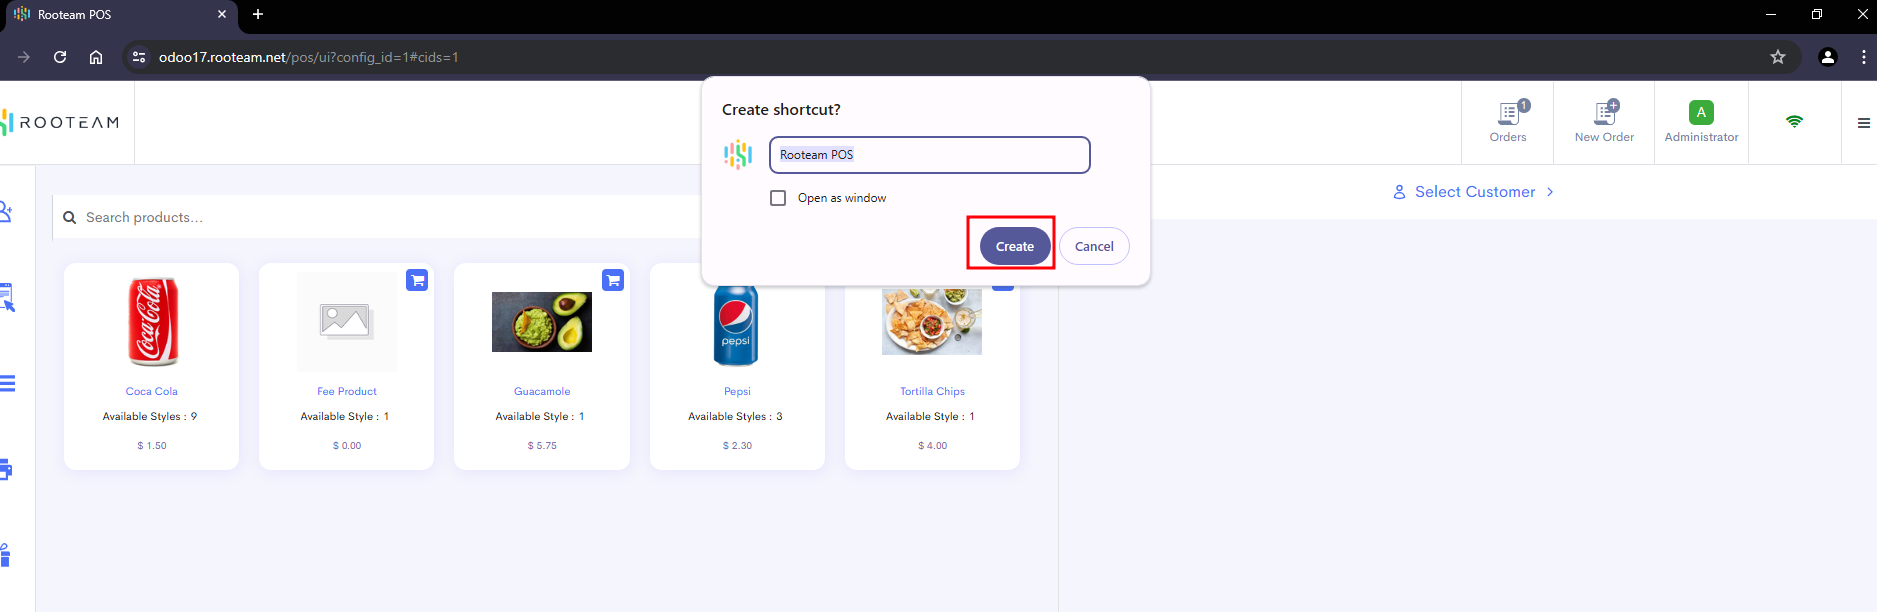
2. Create Desktop Shortcuts
Using the '3 Dot' menu in the upper-right corner of the screen, select 'Save and Share', followed by 'Create Shortcut'.
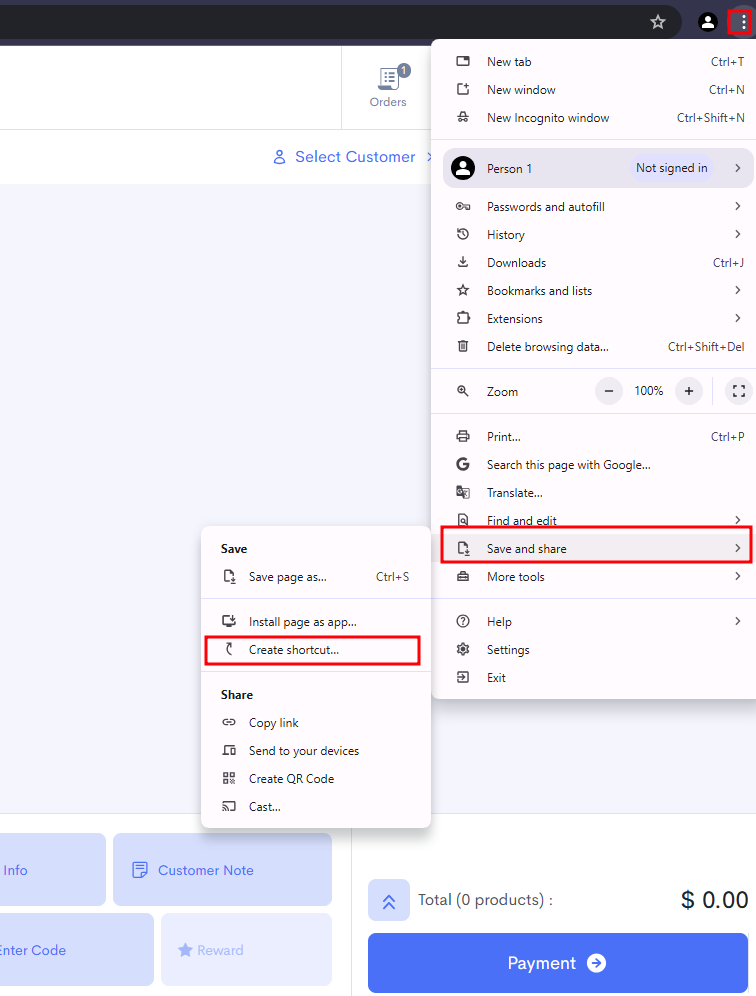
Press 'Create' to confirm and create the shortcut on your desktop.
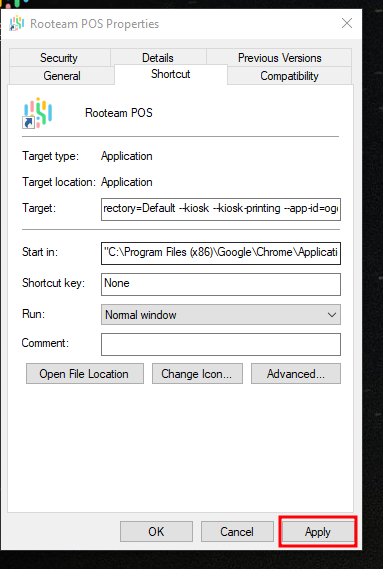
3. Modify shortcut to enable Kiosk Mode
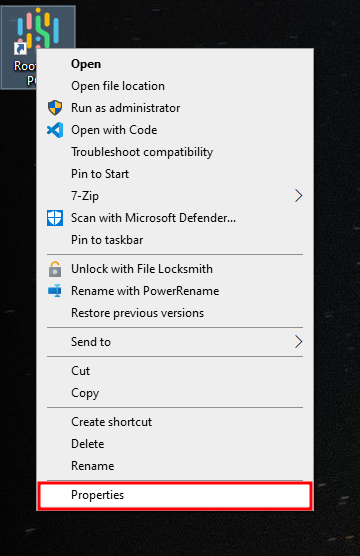
To open the POS in kiosk mode, we will need to modify the shortcut.
To do so, right click on the shortcut created above and select 'Properties'.
A window will open with a few text fields.
We will be modifying the line labelled 'Target:'
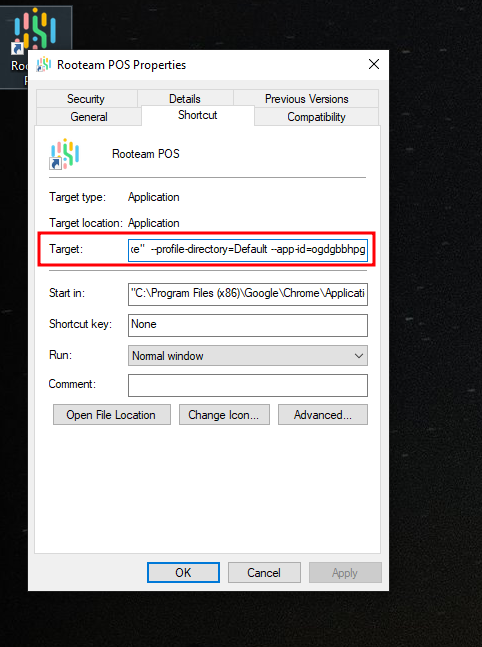
This line provides settings for Google Chrome to apply when opening. They will only apply when this is the only Chrome window opened.
In this line, add the following AFTER --profile-directory, and BEFORE --app-id.
--kiosk --kiosk-printing
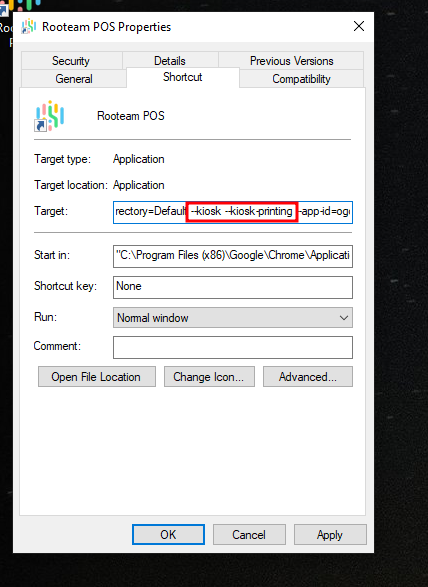
After adding this line, press 'Apply', followed by 'OK' to close the window.
Pressing on this shortcut will now automatically open the POS in full screen, and receipts will print without requiring confirmation.
If the POS does not open in full screen, please close all opened Chrome tabs and try again.